Getting Started · Guide 03
Loading the Demo System
Use the built-in demo to instantly see a complete campervan electrical system — a great starting template.
1
Click Load Demo Setup
In the header toolbar at the top of the page, click the "Load Demo Setup" button (the lightning bolt icon). DCPowerPlanner.com will immediately populate the canvas with a complete, pre-wired campervan 12V system — batteries, MPPT solar controller, DC-DC charger, Lynx distributor, inverter, shunt, and several load devices.
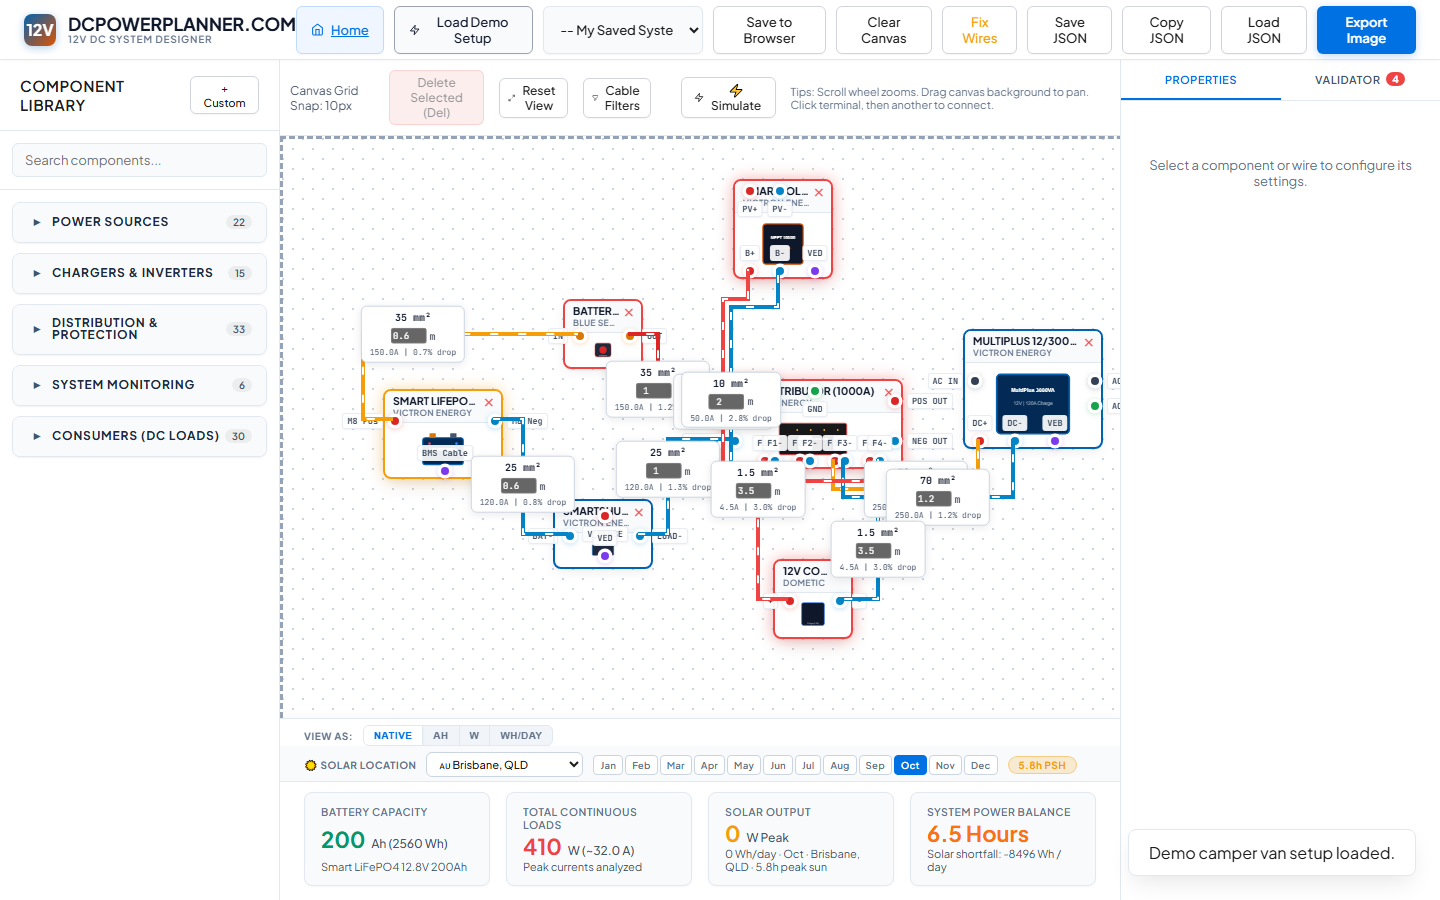
TipUse the demo as a template. Delete the components you don't need and swap in the ones that match your actual build.
2
Reset the View to See Everything
After loading the demo, the canvas may not show all components at once. Click Reset View in the canvas toolbar to automatically zoom and center so all components are visible. You can then zoom in on specific areas with the scroll wheel.
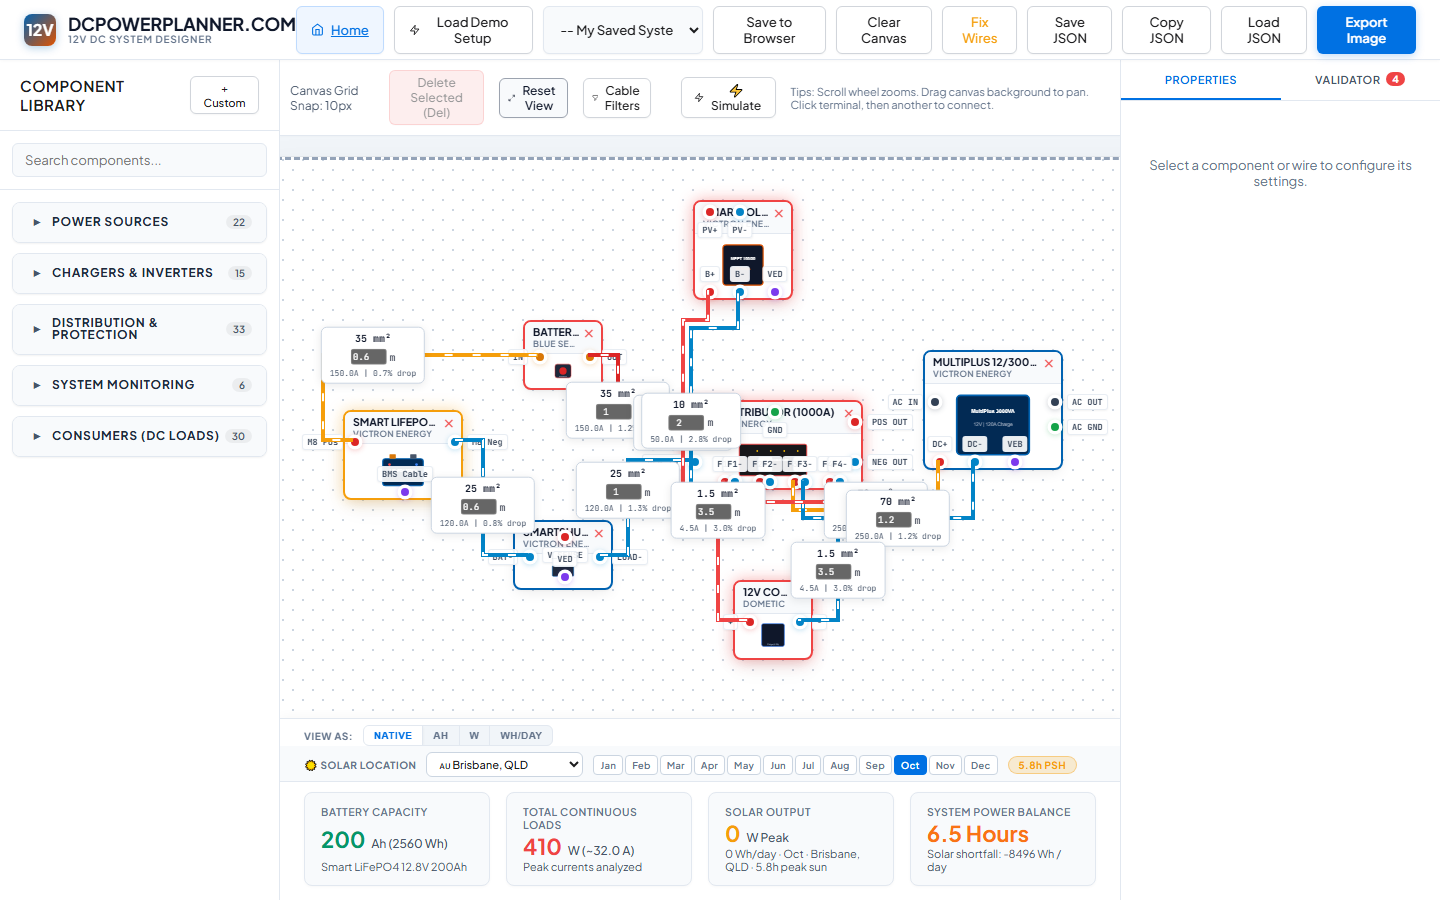
TipNotice the colour-coded wires: red for DC positive, blue for DC negative, and purple for VE.Bus/data communications.